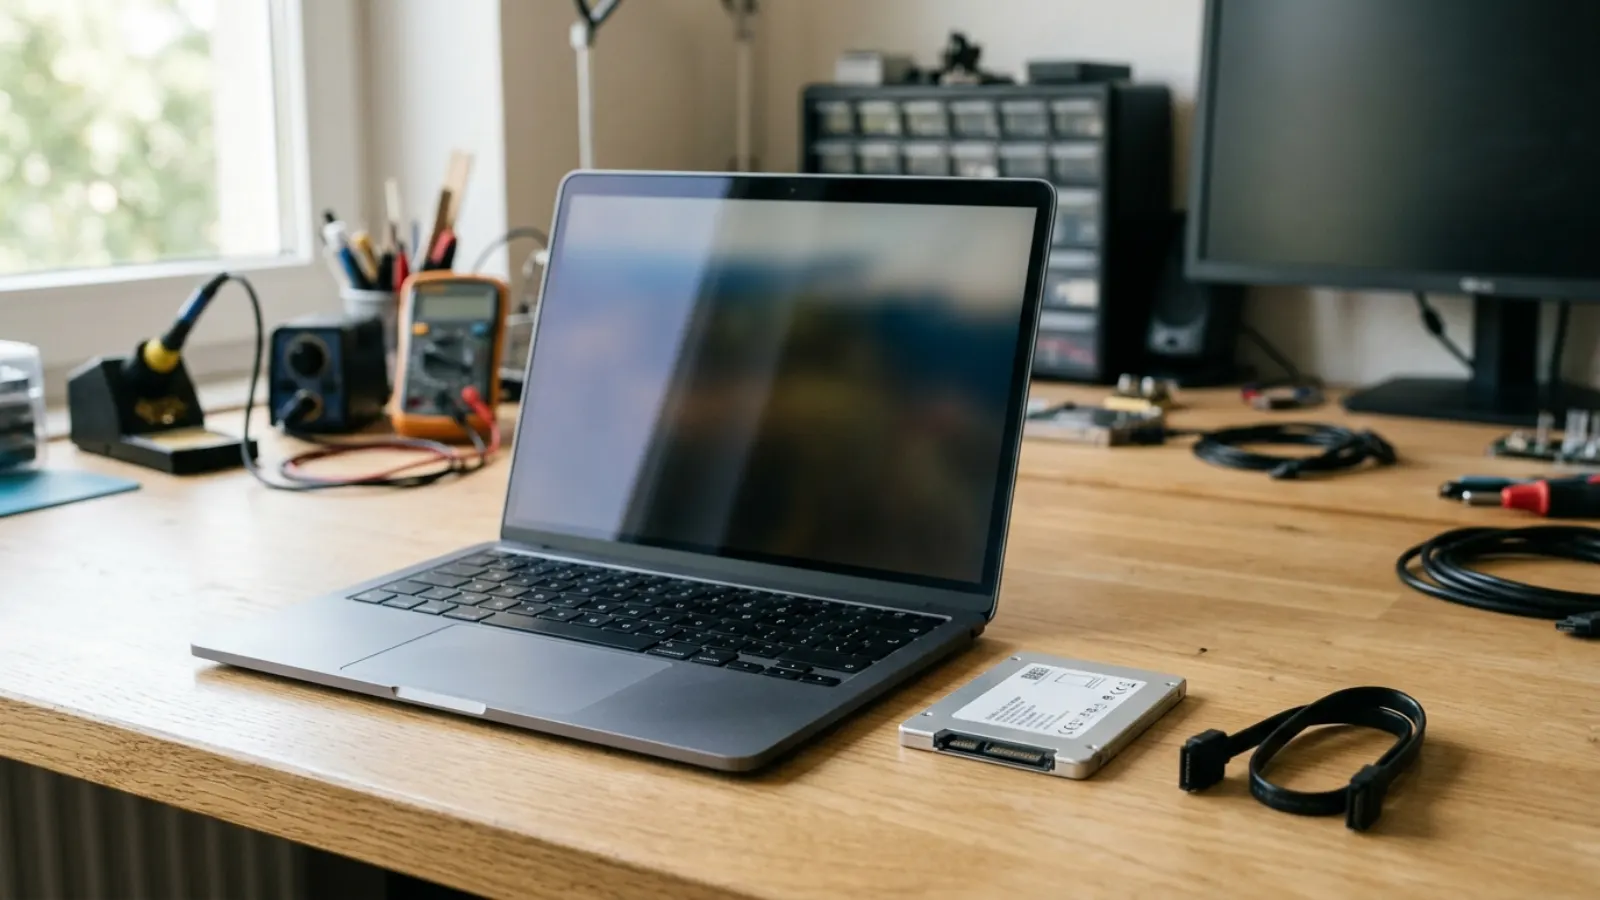
Short answer: The message "We couldn't find any drives" means Windows Setup cannot see your SSD or hard drive. The usual causes are a missing storage driver (Intel RST/VMD or AMD RAID), the wrong SATA mode in BIOS, or a loose drive. Load the driver from your PC maker, switch SATA to AHCI, or reseat the drive.
Key takeaways
- Check whether the drive appears in BIOS or UEFI first. If it is missing there, it is a hardware or connection problem, not a Windows one.
- On many newer laptops, Intel RST with VMD hides NVMe drives from Windows Setup until you load a driver.
- Changing the SATA mode to AHCI fixes a lot of cases on a clean install, but it can stop an existing Windows from booting.
- diskpart with clean erases the entire disk. Use it only when you have a backup or no data to keep.
- If the drive is not detected anywhere, it may have failed.
What the error looks like
During the "Where do you want to install Windows?" step, the list of drives is empty, and a message says: "We couldn't find any drives. To get a storage driver, click Load driver." Sometimes you see a similar message saying a driver is missing. This is different from the error "Windows cannot be installed to this disk", which is about partition style (GPT or MBR) and has its own fix.
The cause is almost always one of four things: Setup lacks the driver for your storage controller, the controller is in a mode Windows does not recognize, the drive is not connected properly, or the drive has failed.
Fix 1: Check that the drive shows in BIOS (1 minute)
- Restart the PC and open BIOS or UEFI (usually F2, Delete, F10 or Esc).
- Look for a storage, boot or system information page that lists your SSD or hard drive by model name.
If the drive is listed, the hardware is likely fine, and the fix is a driver or setting. If it is not listed, jump to Fix 5 (reseat the drive). On a desktop, also check that the SATA cable and power cable are firmly attached.
Fix 2: Load the storage driver (2 minutes)
This is the single most common solution on modern laptops, especially those with 11th generation Intel Core and newer, and some Dell, HP, Lenovo and ASUS models.
- On another computer, go to your laptop or motherboard maker's support page and search for your exact model.
- Download the storage driver. Look for names like "Intel Rapid Storage Technology (RST) Driver", "Intel VMD Driver", "Intel RST F6 Driver", or "AMD RAID Driver".
- If the download is a zipped folder, extract it. Some vendors provide a "F6" version meant for this exact purpose. If you only find an .exe installer, you may be able to extract it with a tool such as 7-Zip to find the .inf files.
- Copy the extracted folder to a second USB drive (not your installer drive, though copying to the installer is possible too).
- At the "We couldn't find any drives" screen, click Load driver, then Browse.
- Select the folder with the driver, choose the matching driver when it appears and click Next.
- Your drive should now appear in the list.
Pick the driver that matches your hardware. If several are listed, choose the one referring to your controller, which is often named with VMD or RST.
Fix 3: Change the SATA or storage mode in BIOS (2 minutes)
Some PCs ship with the storage controller set to RAID, Intel RST Premium or similar. Windows Setup does not include those drivers by default.
- Open BIOS or UEFI.
- Find the setting named "SATA Operation", "SATA Mode", "Storage Controller Mode" or "VMD Controller". It is usually under Advanced, Storage or System Configuration.
- Change it from RAID or RST to AHCI.
- Save and exit, then boot the installer again.
Important warning: if the PC currently has a working Windows install that you want to keep, switching to AHCI can cause a boot failure (a blue screen with "inaccessible boot device"). Switch only if you are doing a clean install, or you know how to switch back. On some Dell laptops, for example, AHCI is the setting that makes a Linux or fresh Windows installer see the drive, while RAID On is the factory default.
Fix 4: Use diskpart to clear a stubborn disk (3 minutes)
Sometimes a drive is detected, but the partition table is damaged, or it still carries an old RAID signature. Cleaning it often helps.
Warning: this erases everything on the selected disk. Be certain you pick the correct one.
- At the Windows Setup screen, press Shift + F10 to open a Command Prompt.
- Type
diskpartand press Enter. - Type
list diskand press Enter. Identify your internal drive by its size. The USB installer also shows up in this list, so do not choose it. - Type
select disk 0(replace 0 with your disk number). - Type
cleanand press Enter. - If your PC boots in UEFI mode, type
convert gpt. If it boots in Legacy mode, typeconvert mbr. - Type
exittwice, then click Refresh in Setup or restart the installer.
If list disk shows no internal drive, the problem is the driver or the hardware, so return to Fix 2 or Fix 5.
Fix 5: Reseat or test the drive (5 minutes plus opening time)
If the drive does not show in BIOS, power down completely and unplug the charger.
- Laptop with M.2 SSD: remove the bottom cover, disconnect the battery connector if there is one, unscrew the SSD, slide it out, check the gold contacts for dust, and press it back in firmly before refitting the screw.
- Laptop with 2.5 inch drive: reseat the drive in its connector. Try a different drive if you have one.
- Desktop: try another SATA port and another SATA cable. For NVMe drives, remove and reinstall the stick in the slot.
- Boot into BIOS again and see whether the drive is listed.
Be careful with static electricity. Touch a metal part of the case before handling components, and avoid working on a carpet. Opening a laptop can void a warranty on some models, so check before you proceed.
Fix 6: Other quick checks
- Try another USB port or a different USB drive. A poor quality installer can cause strange behaviour. Use a USB 2.0 port if the machine has one, as some installers are happier there.
- Recreate the installer with Microsoft's Media Creation Tool or Rufus, using the correct partition scheme (GPT for UEFI, MBR for Legacy).
- Unplug other drives, memory cards and external disks, so Setup has less to confuse it.
- Update the BIOS from the manufacturer's site. Some firmware versions fix drive detection issues with new SSDs.
- Disable Intel Optane or RAID volumes if your PC used them. Optane memory is a cache feature that can hide the real drive; turn it off in the old Windows, or clear it in BIOS.
- Check for BitLocker or vendor encryption. Drives locked with firmware passwords may not appear until unlocked in BIOS.
Which fix to try first
| What you see | Most likely cause | Try first |
|---|---|---|
| Drive not listed in BIOS | Loose connection or failed drive | Fix 5, reseat the drive |
| Drive in BIOS, empty list in Setup | Missing storage driver | Fix 2, load RST or VMD driver |
| BIOS shows RAID or RST mode | Controller mode not supported by Setup | Fix 3, switch to AHCI (clean install only) |
| Drive listed but errors on install | Damaged partition table | Fix 4, diskpart clean |
| Everything fails on an older PC | Failing drive or BIOS issue | Test the drive in another PC, update BIOS |
Dell, HP, Lenovo and ASUS notes
The wording changes between brands, but the idea is the same.
- Dell: look for "SATA Operation" under System Configuration. Many models default to "RAID On", and choosing AHCI lets Setup see the drive. Also search Dell's driver page for "Intel Rapid Storage Technology" for your service tag.
- HP: look under System Configuration or Advanced for "SATA Device Mode" or "Storage Controller". HP often provides "Intel Rapid Storage Technology" under the Driver, Storage category.
- Lenovo: look for "SATA Controller Mode" or "Storage Mode" and set it to AHCI, or use the "Intel RST F6" driver pack from Lenovo support.
- ASUS: look for "VMD setup menu" or "SATA Mode" in Advanced. Disable VMD, if it is offered, for installing on non-RAID setups.
These menu names are common examples, not a guarantee for your exact model. Always check the maker's documentation for your service tag or serial number.
What to do after the drive appears
- Select the unallocated space or the correct drive and click Next. Setup creates the needed partitions on its own.
- After the first reboot, install the chipset, graphics and Wi-Fi drivers from the manufacturer.
- If you switched BIOS mode to AHCI to install, keep it that way. Switching back later can stop Windows from starting.
- Run a drive health check (the maker's tool, or
Get-PhysicalDiskin PowerShell) and make sure the SSD firmware is current.
When to call a professional
Get help if the drive is missing in BIOS even after reseating, if the laptop is under warranty and you do not want to open it, if the drive contains data you need and may be failing (clicking sounds, extreme slowness, repeated disconnects), or if the PC is a managed work machine with locked firmware. A technician can test the drive, recover data before wiping anything and configure the right storage mode.
Not sure what is wrong? Get a diagnosis first.
Our certified tech can connect remotely, check your software, drivers and backups, and tell you honestly whether the problem needs a hands-on repair.
Frequently asked questions
Why does Windows Setup say "We couldn't find any drives"?
Setup cannot see a storage device, usually because it lacks the driver for your controller (such as Intel RST or VMD), the BIOS storage mode is set to RAID, or the drive is not connected properly or has failed.
Where do I get the Intel RST or VMD driver?
Download it from your laptop or motherboard maker's support page for your exact model, extract it to a USB drive, then click Load driver in Setup and browse to it.
Is it safe to change SATA mode from RAID to AHCI?
For a clean install it is generally safe. For an existing Windows installation you want to keep, changing the mode can cause an inaccessible boot device error, so do it only with a plan.
Will diskpart clean delete my files?
Yes. The clean command wipes the partition information on the selected disk, which makes the data very hard to recover. Back up first and double check the disk number.
What if the drive does not show in BIOS at all?
Reseat the drive and cables, try another port or cable, test the drive in another computer, and update the BIOS. If it still does not show, the drive or the motherboard connection may be faulty.