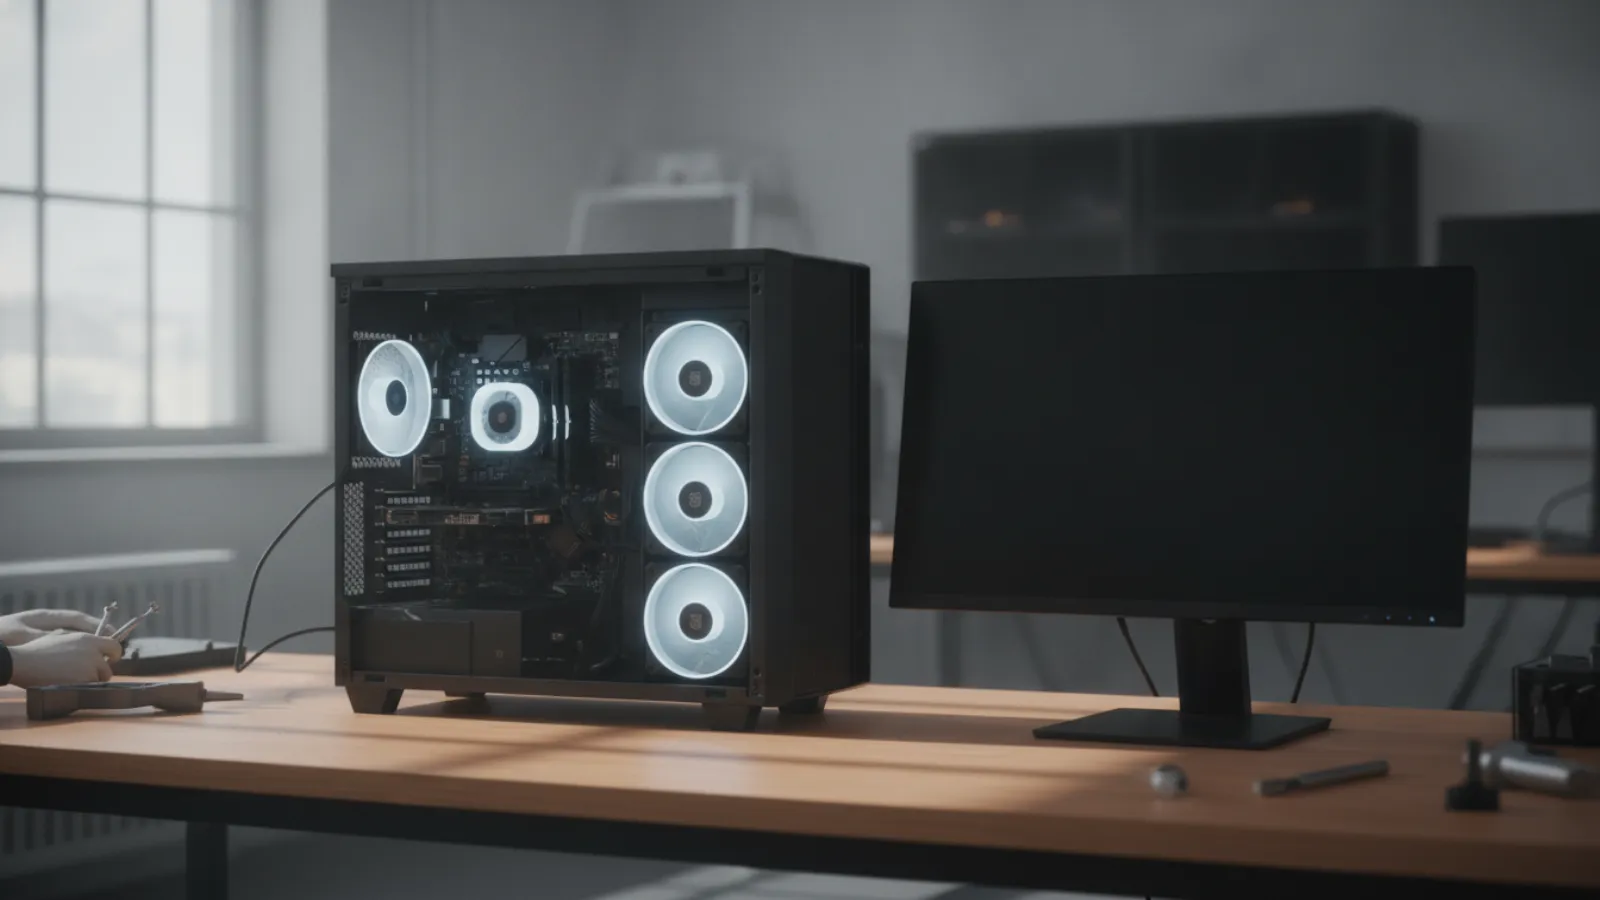
If your PC powers on but shows nothing on screen, the cause is usually loose or faulty RAM, a monitor cable plugged into the wrong port, or a graphics card problem. Less often it is the CPU, motherboard or power supply. Work through them in order: cables and ports, then RAM, then the GPU, then a CMOS reset.
Key Takeaways
- Fans spinning and lights on only prove the PC has power. They say nothing about whether the motherboard, CPU or RAM is working.
- Start with the free checks: the monitor input, the cable, and the correct video port.
- Reseating RAM fixes more "no display" faults than any other single step. Try one stick at a time.
- Test the motherboard's own video output with the graphics card removed, but only if your CPU has built-in graphics.
- Diagnostic LEDs and beep codes on the motherboard tell you which component the board suspects.
- Switch off and unplug the PC, and ground yourself, before opening the case.
Why a PC Can Run Without Showing Anything
When you press the power button, the power supply feeds the motherboard, fans spin and lights come on. But the picture only appears after the motherboard completes a power-on self test (POST). During POST the firmware initialises the CPU, checks the memory and starts the graphics output. If any of those steps fail, the PC can sit there running with a black screen.
That is why the same symptom has several possible causes. It also explains the common confusion between a dead monitor, a dead graphics card and a dead motherboard. The troubleshooting order below goes from the cheapest, most likely fixes to the most serious.
Safety first: Before touching any component inside the case, shut the PC down, switch the power supply off at its rear switch and unplug the power cable. Press the power button once to drain residual charge. Touch a bare metal part of the case to discharge static electricity (ESD), or use an anti-static wrist strap. Handle cards and memory by their edges. Never force a component into a slot.
Step 1: Rule Out the Monitor and Cable
- Check that the monitor is on, its power light is lit (not blinking amber), and the correct input is selected, such as HDMI 1, DisplayPort or DVI. Use the monitor's own menu to switch inputs manually instead of relying on auto-detect.
- Try a different cable. HDMI and DisplayPort cables fail more often than people expect, especially cheap or old ones.
- Try a different monitor or a TV if you have one. If the second screen works, your first monitor or its settings are the culprit.
- Look at which port the cable is plugged into at the back of the PC. This is the most common mistake on desktops with a dedicated graphics card.
On a desktop with a separate graphics card installed, the cable normally belongs in the card's ports, which sit lower down at the back of the case. If you plug into the motherboard's video ports instead, the screen usually stays black because the motherboard output is disabled when a card is present. If you have just installed a graphics card, move the cable to the card and try again.
Step 2: Disconnect Everything Non-Essential
Turn the PC off and unplug the power. Remove all USB devices except a keyboard, plus any external drives, printers and webcams. Occasionally a faulty peripheral prevents POST from finishing. Reconnect power and try again. If you recently added new hardware, such as a drive, a card or extra RAM, remove it as well to see whether the PC recovers.
Step 3: Check the Motherboard Signals
Many motherboards give clues about what is wrong. Look for these:
- Debug LEDs. Modern boards often have four small lights labelled CPU, DRAM (or MEM), VGA and BOOT. The one that stays lit usually marks the stage where startup stopped. A lit DRAM light points to memory, VGA to the graphics card, CPU to the processor and BOOT to storage or the operating system.
- A two-digit code display. Some boards show hexadecimal POST codes. Your motherboard manual lists what each means.
- Beeps. If a case speaker or buzzer is connected, the pattern of beeps points to a fault. Our guide to motherboard beep codes covers the common AMI, Award, Dell and HP patterns.
No lights at all, no fans and no response is a different problem, covered in our guide on what to do when a computer will not turn on.
Step 4: Reseat and Test the RAM
Memory is the number one cause of a running PC with no picture. Unseated modules, a failed stick, or a stick in the wrong slot can all stop POST.
- Power off, unplug, and ground yourself.
- Open the side panel of the case. Find the long RAM slots next to the CPU.
- Push the clips at each end of a slot outward, lift the module out, and look at the gold contacts for dirt or damage. Wipe gently with a clean dry lint-free cloth if needed. Avoid touching the contacts.
- Reinsert the module firmly until both clips click. It takes noticeable pressure, so apply it evenly.
- Remove all sticks but one. Put that single stick in the slot your motherboard manual recommends for a single module. This is often the slot second from the CPU, labelled A2, but check the manual for your board.
- Boot. If nothing appears, power down and swap in the other stick, and then try each stick in a different slot.
If one stick works alone and another does not, you have found the bad stick or bad slot. If none of them works in any slot, the RAM is unlikely to be the only issue. Newly built systems, especially with DDR5 memory, can also sit on a black screen for a while on the first boot while the board trains the memory. Give it a few minutes before concluding that it has failed.
Step 5: Test the Graphics Card and Onboard Video
If the RAM checks out, look at graphics next.
- Power off, unplug, and ground yourself.
- Check that the graphics card is fully seated in its PCIe slot. Release the latch at the end of the slot, remove the card, and reinsert it until it clicks. Screw it back to the bracket.
- Check the power connectors on the card. Most mid-range and high-end cards need one or more 6-pin, 8-pin or 12-pin cables from the power supply. A missing or half-seated cable is a very common cause. Do not use cable adapters you are unsure about.
- If your CPU has integrated graphics, remove the graphics card entirely and plug the monitor into the motherboard's video port. If a picture appears, the card is probably faulty or its power connection is not right.
Be careful with the integrated-graphics test. Not every CPU has it. Intel processors with an "F" suffix, such as a Core i5-12400F, have no integrated graphics, and many AMD Ryzen chips have none unless the model name ends in "G" or the model belongs to a series with built-in graphics. Check your CPU's specification before drawing conclusions. If you do not know your parts, our guide on how to check your computer specs can help.
If you have a spare, known-good graphics card, installing it is the cleanest test. If the spare works, your original card has a problem.
Step 6: Check the CPU Power and Seating
Look at the motherboard's top-left edge. One or two power connectors labelled CPU or EATX12V (4-pin or 8-pin) must be plugged in from the power supply. If they are missing, the system may spin fans but never complete POST. Also confirm that the 24-pin main connector is fully seated. If you are comfortable doing so and have an obvious reason to suspect it, such as a recent cooler change or a CPU upgrade, check the CPU itself. On sockets with pins on the motherboard, bent pins can cause a failure. On sockets with pins on the processor, inspect the pins. Reseating a CPU requires removing the cooler and fresh thermal paste when you refit it, so if you are unsure, this is a sensible point to stop and ask for help.
Step 7: Clear the CMOS
A corrupted BIOS setting, such as a bad memory overclock profile (XMP or EXPO), can prevent the display from initialising. Resetting the BIOS to its defaults often fixes this. The process involves a motherboard jumper, a button or removing the coin battery briefly. We cover every method in our guide on how to reset the BIOS and CMOS when your PC will not boot.
Step 8: Check for Short Circuits and Stray Parts
- Make sure there are no extra or missing motherboard standoffs. A standoff in the wrong place can touch the underside of the board and cause a short.
- Confirm that no loose screws are rattling inside the case.
- Disconnect the front-panel cables (power, reset, USB, audio) and start the PC using the power pins on the motherboard with a screwdriver, if your board manual explains how. A faulty case button or cable can cause odd behaviour.
Some people take the motherboard out of the case and test it on a cardboard box ("breadboarding") with only the CPU, one stick of RAM and the cooler. It is a legitimate technique for ruling out case shorts, but it requires care and is only worth doing if you are comfortable handling the parts.
What the Symptoms Usually Mean
- Fans spin, DRAM light on, no picture: memory not seated, incompatible, or faulty. Reseat and test one stick at a time.
- Fans spin, VGA light on: graphics card or its power cable. Reseat, test onboard video, try another card.
- Fans spin, CPU light on: the processor, its power connector or the BIOS needs an update for a new CPU model. Check seating and the manufacturer's CPU support list.
- Fans start, then stop, then restart repeatedly: often a memory fault, an overclock profile that failed, or a short. Clear CMOS and test minimum hardware.
- Beeps from the case speaker: use the beep code table for your BIOS maker to narrow it down.
- No debug LEDs, no beeps, only fans: often a CPU or motherboard fault, or insufficient power to the CPU. Check the 8-pin cable first.
- Black screen on a laptop with lit keyboard and fans: try an external monitor. If it works, the laptop's display, cable or backlight is suspect. If not, RAM or the motherboard is next.
Is It the Power Supply?
A failing power supply can allow the fans to start but not deliver stable power under load, which stops POST. If you have run through RAM, graphics and CPU checks without success, test or swap the power supply. Our guide to how to test a PC power supply with and without a tester explains how to do it safely.
When to Call a Professional
If you have tried the steps above and the PC still shows no picture, the fault may lie with the motherboard, the CPU or its socket. These repairs often involve diagnosing at component level and are not practical to attempt without the right tools. Stop if you see burn marks, smell burning, notice bulging capacitors or have liquid damage. Further attempts can cause more harm. Our team repairs motherboards and can advise whether a fix is worthwhile. See our motherboard repair service in Montreal, or contact us about remote computer repair in Canada for faults that still reach the operating system on some boots.
Not sure what is wrong? Get a diagnosis first.
Our certified tech can connect remotely, check your software, drivers and backups, and tell you honestly whether the problem needs a hands-on repair.
Frequently Asked Questions
Why does my PC turn on but the screen stays black?
The most common reasons are RAM that is not seated properly, a monitor cable plugged into the wrong port, a graphics card that is not fully seated or powered, or a corrupted BIOS setting. Less often the CPU, motherboard or power supply is at fault.
How can I tell if it is the motherboard, RAM or GPU?
Check the motherboard's debug LEDs or beep codes first, as they usually point to the failing stage. Then test components one at a time: RAM with a single stick in different slots, the GPU by switching to onboard video or a spare card, and the board by exclusion.
Can a bad power supply cause no display?
Yes. A weak or failing power supply can start the fans but fail to give the CPU, graphics card or motherboard stable power, so the PC never completes startup. Testing with a power supply tester or swapping in a known-good unit confirms it.
Will resetting the BIOS fix a black screen?
Sometimes. If the problem came from a bad overclock, memory profile or corrupted settings, clearing the CMOS returns the board to safe defaults and can restore the picture. It will not fix failed hardware.
Is it safe to test components myself?
Yes, if you power off, unplug the PC, ground yourself and handle parts by their edges. Do not force components, and stop if you are unsure. Opening a PC may affect warranty terms on some systems, so check yours first.