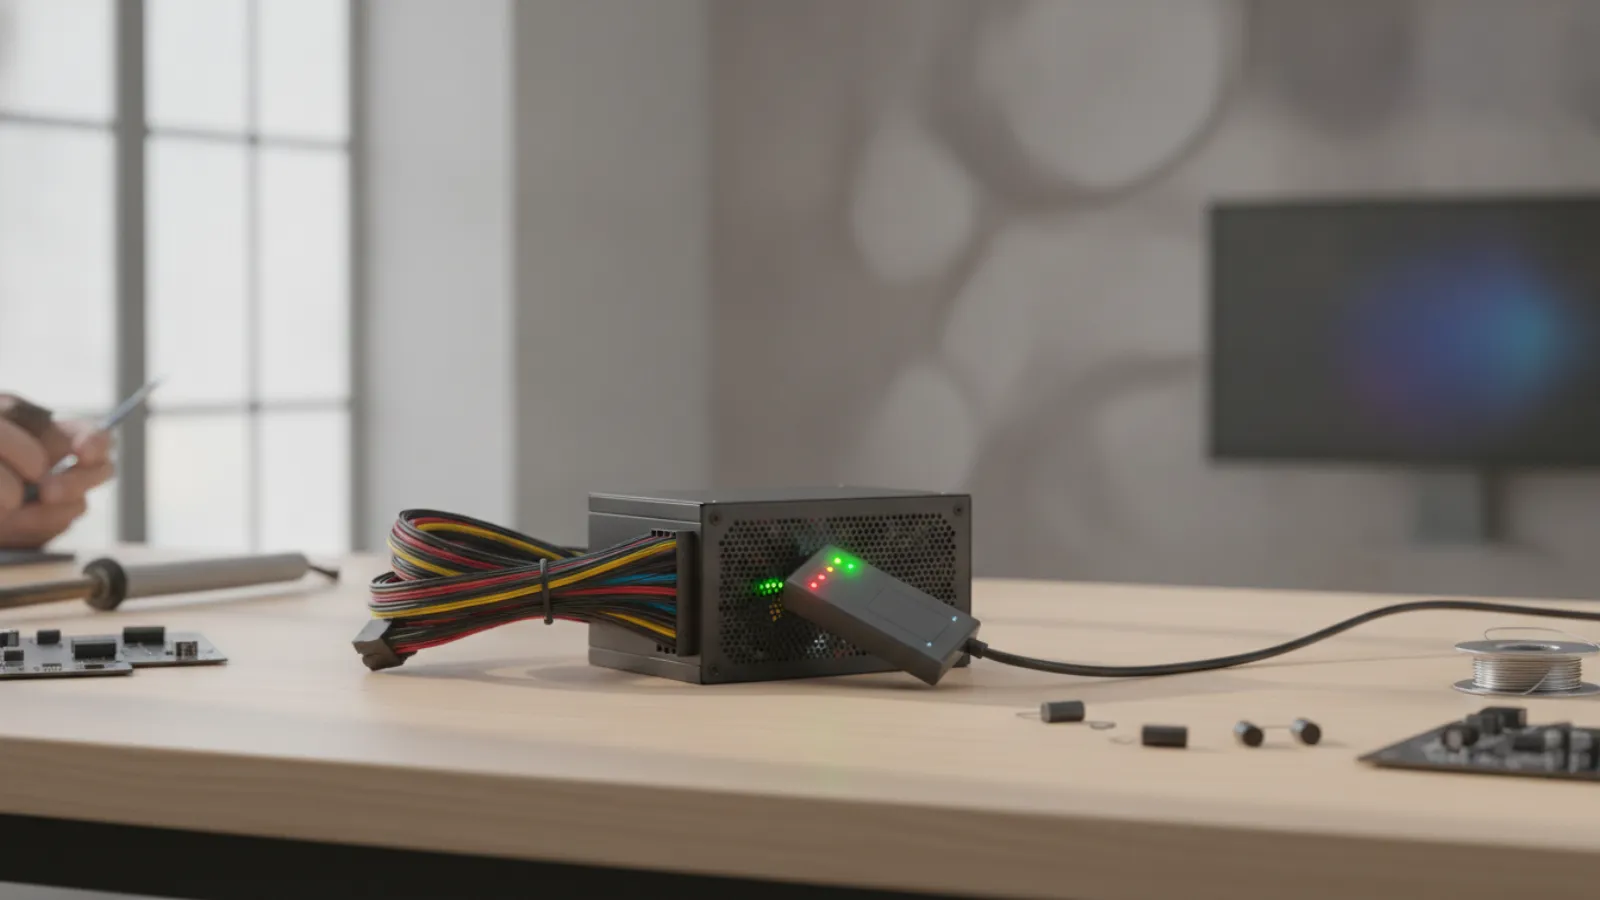
You can test a PC power supply (PSU) with a dedicated PSU tester by plugging in its connectors, or without one using the paperclip method and a multimeter. The paperclip test only shows whether the PSU switches on. A multimeter reads the output voltages, which should sit within about 5 percent of nominal.
Key Takeaways
- A PSU tester is the quickest, safest check. A multimeter plus the paperclip method is the no-tester alternative.
- Both tests are done with the PSU disconnected from the motherboard and other components, so they are "no load" tests.
- A PSU can pass a no-load test and still fail under real load. The most reliable proof is swapping in a known-good unit.
- Acceptable voltage ranges are about 3.135 to 3.465 V on the 3.3 V rail, 4.75 to 5.25 V on 5 V and 11.4 to 12.6 V on 12 V.
- Never open the PSU case. Capacitors inside can hold a dangerous charge even when it is unplugged.
- Never mix modular cables between different PSU models or brands. The pinouts can differ.
Signs Your Power Supply May Be Failing
A power supply converts mains electricity into the low-voltage DC power your components need. When it deteriorates, the symptoms can be confusing because they look like problems with other parts. Common signs include:
- The PC does not power on, with no fans or lights, though the wall outlet is known to work.
- Random shutdowns or restarts, especially during games or heavy tasks.
- The PC starts, fans spin, but there is no display or POST. See our guide on a PC that turns on with no display for how to separate PSU faults from RAM and graphics faults.
- Burning smell, visible scorch marks, a buzzing or clicking noise, or a PSU fan that does not spin.
- Blue screens or file corruption that appear without a clear software cause.
If your PC will not respond at all, also work through the basics in our guide on why a computer will not turn on. A loose power cable, a switched-off rear PSU switch or a faulty power strip are far more common than a dead supply.
Safety Rules Before You Start
Read before you begin:
- Switch the PSU off at its rear switch and unplug the power cable from the wall before connecting or disconnecting anything.
- Do not open the PSU casing. It contains capacitors that can hold a charge for a long time, and there are no user-serviceable parts.
- Work on a dry, non-conductive surface, away from liquids.
- Touch the bare metal of the case to discharge static (ESD) before handling components.
- Do not use a damaged or frayed cable, and do not test a PSU that smells burnt or has been wet. Stop and replace it.
- Do not use metal tools for jumping pins on a connector that is still attached to the motherboard.
Step 1: Check the Easy Things First
- Confirm the wall outlet works by plugging in a lamp or phone charger.
- Try a different power cable and a different outlet, bypassing surge protectors and extension cords.
- Check the rear PSU switch is in the on position (I, not O). Some older supplies also have a 115/230 V selector. It must match your country's mains voltage.
- Check the front-panel power cable on the motherboard. A loose or faulty case power button can mimic a dead PSU.
Once these basics are clear, move on to the PSU itself.
Step 2: Disconnect the PSU From the Components
- Shut down, switch the PSU off and unplug the power cable.
- Open the side panel and unplug the PSU connectors from the motherboard (24-pin and 4/8-pin CPU), graphics card (PCIe), drives (SATA and Molex) and any fans or accessories.
- Leave the PSU installed in the case or take it out, whichever is easier to reach, but keep it away from other parts.
Disconnecting everything isolates the PSU so you know the result belongs to it and not to a short elsewhere. If you want to know your system's components before replacing a PSU, our guide on how to check your computer specs shows how to find out your CPU and graphics card, which helps in choosing the right wattage.
Method A: Test With a PSU Tester
A basic ATX PSU tester is a small inexpensive device with sockets for each connector and an LED or LCD display. It saves time and avoids exposed wiring.
- Make sure the PSU is off and unplugged.
- Plug the 24-pin connector into the tester's matching socket. Plug in the 4/8-pin CPU connector, a PCIe connector, and a SATA and Molex connector if the tester has sockets for them.
- Connect the PSU power cable and switch the PSU on at the rear. Some testers start immediately; others need you to press a button.
- Read the display. Most show the voltages of the 3.3 V, 5 V, 12 V, -12 V and 5 V standby (5VSB) rails and a "power good" signal. LED-only testers light an indicator for each rail.
- Compare the values to the table later in this guide. Anything outside the acceptable range, a missing power-good signal or a flashing or error indicator suggests a fault.
- Switch off and unplug the PSU before removing the connectors.
Check the instructions that come with your tester. Models differ, and cheap ones can be inaccurate, so do not treat a single result as the final word. The test also runs without a real load, so a good reading does not guarantee stability under gaming or rendering.
Method B: Test Without a Tester (Paperclip Plus Multimeter)
If you have no tester, you can start a PSU without a motherboard by bridging two pins on the 24-pin connector, then measure voltages with a multimeter. This is a standard technician technique, but it needs care.
Part 1: The paperclip test (does it turn on?)
- Make sure the PSU is off at the rear switch and unplugged from the wall, and disconnected from every component as in Step 2.
- Find the main 24-pin connector. Look at its wires. One wire is green. This is the PS_ON signal, at pin 16 on the standard ATX 24-pin connector.
- Straighten a paperclip into a U shape, or use a proper jumper tool made for the purpose.
- Insert one end into the green wire's socket and the other into any black (ground) socket next to it. Pins should sit snugly and not touch other sockets.
- Plug the PSU power cable into the wall and switch the PSU on at the rear.
- Watch the PSU fan. If it spins up, the PSU has turned on. If nothing happens, check the cable, wall outlet and switch, then suspect a dead PSU.
- Switch off at the rear and unplug before removing the paperclip.
Some modern PSUs have a semi-passive mode in which the fan does not spin until the load rises, so a still fan is not always conclusive. A multimeter reading helps settle it. Also note that a PSU turning on with the paperclip test does not prove it is healthy. It only proves it can switch on with no load.
Part 2: Measure the voltages with a multimeter
- Set the multimeter to DC voltage, usually the 20 V range (the symbol with a straight line, V with a solid and dashed line).
- With the paperclip in place and the PSU switched on, connect the black probe to a ground (black) wire socket and the red probe to the pin you want to check. Insert probes carefully into the back of the connector or in the front socket, taking care not to touch neighbouring pins. Keep your fingers away from metal tips.
- Read each voltage and compare it with the table below.
- Also test the Molex and SATA connectors: yellow to black should read about 12 V, red to black about 5 V and, on SATA, orange to black about 3.3 V.
- Switch the PSU off and unplug it when finished.
Wire Colours and Acceptable Voltage Ranges
| Wire colour | Signal | Nominal | Acceptable range (ATX standard tolerance) |
|---|---|---|---|
| Orange | +3.3 V | 3.3 V | 3.135 to 3.465 V |
| Red | +5 V | 5 V | 4.75 to 5.25 V |
| Yellow | +12 V | 12 V | 11.4 to 12.6 V |
| Blue | -12 V | -12 V | -10.8 to -13.2 V |
| Purple | +5 V standby (5VSB) | 5 V | 4.75 to 5.25 V (present even when PSU is "off" at the motherboard, if the rear switch is on) |
| Gray | PWR_OK (power good) | About 5 V | Should show roughly +5 V after the PSU starts |
| Green | PS_ON | About 0 V when on | Bridged to ground to turn the PSU on |
| Black | Ground | 0 V | Reference |
The tolerances above are the commonly cited ATX tolerances of plus or minus 5 percent for the main rails and plus or minus 10 percent for -12 V. A rail outside range, a gray wire that stays near 0 V, or a PSU that clicks on and off suggests a fault.
Why a No-Load Test Is Not the Full Story
Both methods above test the PSU with nothing connected. Many faults only appear under load, such as voltage dropping when the graphics card pulls power, or ripple that causes instability. A PSU can read perfectly on a tester and still crash your PC during a game. That is why technicians also use a swap test.
The swap test
- Borrow or buy a known-good PSU with sufficient wattage and the right connectors for your CPU and graphics card.
- Power down, unplug, and carefully swap the PSU, using the new PSU's own cables. Do not reuse modular cables from the old unit.
- Boot the PC. If the symptom disappears, the original PSU was at fault.
Keep the swap temporary if you can, so you do not risk your parts. If the new PSU also fails to fix the problem, the motherboard or another component is more likely at fault. See how to reset the BIOS and CMOS and motherboard beep codes explained for the next checks.
Choosing a Replacement PSU
- Wattage: pick a unit that comfortably exceeds your system's peak draw. Manufacturers of graphics cards publish recommended PSU wattage on their product pages.
- Connectors: make sure it has the right CPU (4+4-pin EPS) and graphics connectors (PCIe 8-pin, or the newer 12VHPWR / 12V-2x6 connector for some recent cards).
- Quality: choose a reputable brand with safety protections (overvoltage, overcurrent, short-circuit) and a sensible warranty. A bargain no-name unit is not worth the risk to your other components.
- Size: confirm it fits your case, such as ATX or SFX.
Avoid using the cables from your old PSU with the new one. Pinouts on modular connector ends are not standardised between brands, and a mismatch can destroy components.
When to Call a Professional
Contact a technician if the PSU shows out-of-range voltages, you suspect a motherboard short, you smell burning, the PSU trips the breaker, or you swapped in a good PSU and the PC still fails. A failed PSU can damage other parts, so having the system checked is worthwhile. We offer board-level diagnosis through our motherboard repair service in Montreal.
Not sure what is wrong? Get a diagnosis first.
Our certified tech can connect remotely, check your software, drivers and backups, and tell you honestly whether the problem needs a hands-on repair.
Frequently Asked Questions
Is the paperclip test safe?
It is safe when done correctly: the PSU is unplugged and disconnected from all components while you place the clip, and only then do you switch it on. Never do it with the PSU still connected to the motherboard, and never touch the metal ends while it is powered.
What voltage should the 12 V rail show?
The yellow 12 V wires should read between about 11.4 V and 12.6 V, which is the standard plus or minus 5 percent tolerance. Readings outside that range indicate a problem.
Can a PSU pass the paperclip test and still be bad?
Yes. The test runs with no load, so a PSU that cannot hold voltage under real demand can still switch on. A swap with a known-good unit is the most reliable confirmation.
Do I need a PSU tester?
No, but it speeds up checking and avoids handling bare wires. A multimeter and a paperclip also work if you take care. Neither replaces a load or swap test.
How long does a PC power supply last?
There is no fixed lifespan. Quality units often run for many years, and many carry multi-year warranties, but heat, dust and heavy loads shorten their life. Replace a PSU when it shows faults or is no longer powerful enough for your hardware.